
Labels are everywhere, from the neatly organized rows at the grocery store to the tags on your favorite clothing. Have you ever wondered how these little pieces of information come into existence? More precisely, how are Labels made?
Behind the scenes, there’s a fascinating world of craftsmanship and technology that brings labels to life.
Labels, these unassuming tags, or stickers decorating our everyday items play a pivotal role in our consumer experience.
In this blog post, we are going to discuss everything about how are labels made, in terms of basics, layers, structures, and the main process of label manufacturing.
Before delving into the intricate process of label manufacturing and production, let’s establish a foundational understanding of what labels are and what their structure looks like.
What are Labels?
In the simplest of manners, labels are informational representatives used to be attached to all kinds of physical products, packaging, or items. Serving as concise communicators, they convey essential details that assist consumers in making informed decisions.
Far from mere decorative add-ons, labels also act as purposeful tools designed to facilitate a seamless interaction between consumers and the products they encounter. As lines of information, these discreet markers contribute significantly to our ability to navigate an expansive marketplace effectively.
Now that you’ve established the basic understanding of labels, let’s move towards exploring the simple yet critical process involved in bringing these essential communicators into existence, starting with the structure of labels.
The 4 Primary Structure Of Labels
The first step to making labels is getting the resources needed to assemble a label. To better understand the resources needed to manufacture labels, you should take a look at the different layers of a label and their properties, to have a recipe that works best for you.
Here, we are also going to share a lot about the secret sauce for making labels and what exactly each layer is. So, let’s dive deep into it without any ado.
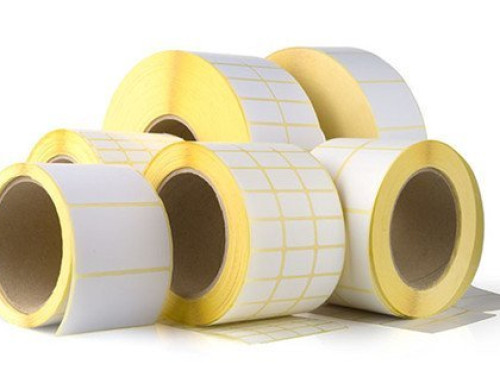
Facestock
The first step to creating a label is to get the required material to print on, which is also the part of the label your customers will see. Thus, making it one of the most important parts of the label.
The most common materials used as a Facestock for pressure-sensitive labels are virgin paper, recycled paper, plastic, film, and foil. This layer is what basically gives the labels their color, their texture, and most of their properties (such as being waterproof or recycled).
Adhesive
As the name suggests, it’s the sticky part of a pressure-sensitive label. The adhesive gets removed easily from the liner (the backing material) for easy application to your product or container.
In general, there are 4 different types of adhesives based on temperature and strength:
- All temperature
- Cold temperature
- Permanent
- Removable
In this case, you need to understand the two most important types of adhesives:
1. Removable Adhesive: Again, it goes with the name suggested, they are removable in nature. And this comes straight from considering the strength of the adhesive, where there is a weaker one used for easy peeling. (This is the one we consider in between the facestock and liner)
2. Permanent Adhesive: This is the most widely used type, it means that once the label has been applied, it will not be removed without damaging the label, which is not at all needed in.
Silicone
Now, this layer is completely for the comfort of adhesives to prevent the adhesive material on the facestock from sticking to the liner layer. This is quite crucial for maintaining the adhesive’s effectiveness until the label is applied.
This gives the liners a releasing property, making it known as release layers.
The presence of silicone between the liner and facestock also gives the label numerous features such as water resistance, temperature resistance, durability, and non-stick properties, including medical and pharmaceutical applications.
Liner
This is the layer above which adhesive is applied to stick the removable facestock. It keeps the labels together and makes the sheet ready to go through a printer.
This layer is also called the carrier or backing, for pressure-sensitive labels, it is most commonly a white, blue, or yellow glassine paper, and it has a special coating that allows your labels to be easily removed.
Another common option is polyethylene terephthalate (PET), which was used a lot during the global supply chain disruptions of the COVID-19 pandemic.
Coating – The Label Addons
Earlier, in the above section, we talked about the primary layers of a label. Now, let’s take a look at some label addons based on the properties needed to be added to it, for having the right recipe based on your needs.
Before moving on to the actual process of how are labels made, let me give you a basic understanding of the 5 most popular types of coating (excluding adhesive coating) used in the making of labels:
- Varnish: A clear coating (applied as the outermost layer) applied to labels to add a glossy or matte finish. It enhances the label’s visual appeal and provides a protective layer against wear and tear.
- Laminate: A coating process that involves applying a thin layer of film over the label surface. It provides additional protection against moisture, chemicals, and abrasion, making the label more durable.
- UV Coating: This is a sub-type of varnish that is cured using ultraviolet light. It creates a hard and glossy surface, adding both protection and a visually appealing finish to the label.
- Film Coating: Thin films, such as polyester or polypropylene, can be coated onto labels to provide enhanced durability, water resistance, and resistance to tearing.
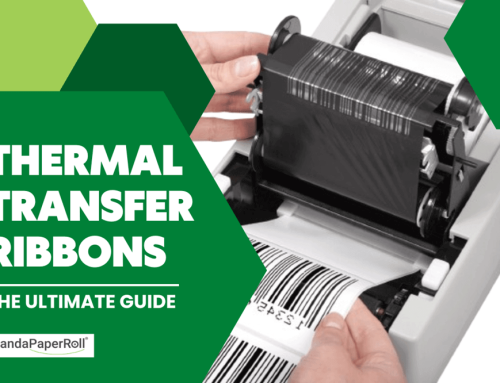
- Thermal Transfer Overcoat (TTO): In thermal transfer printing, an overcoat is often applied to labels to protect the printed information from fading, smudging, or scratching. This is especially important for labels used in industries like logistics and manufacturing.
The choice of coating depends on the specific requirements of the label, the intended use, and environmental factors it may encounter. Manufacturers select the coatings to achieve the desired visual effects, protection, and functionality for the labels in various industries such as packaging, retail, healthcare, and logistics.
How are Labels Made?
Now, after we have a clear understanding of the basics, various layers, and structure of labels with their requirements, let’s dive deep into the multiple steps involved in the manufacturing and packaging of labels.
Step 1: Choose Label Material
As we discussed above, various materials are needed to assemble a label based on the specific requirements, intended use, and factors one wants to consider for the label being used for specific environments.
The different types of materials used in the manufacturing of the label, as we discussed above, include facestock, adhesive, liner, and various types of coating.
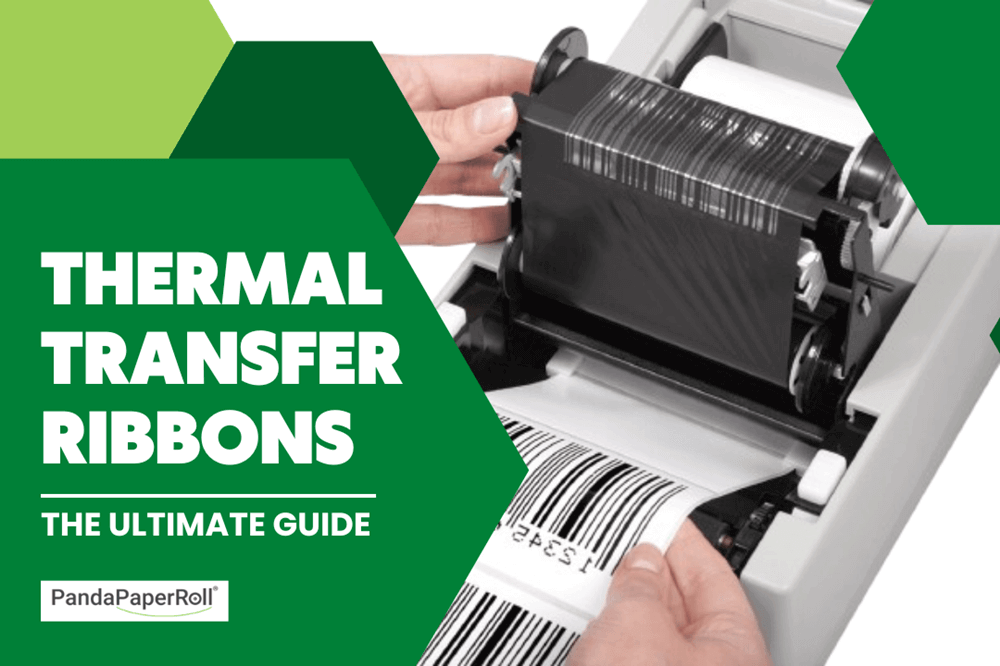
Step 2: Printing
The printing process is a set of techniques and methods used to reproduce text and images on various surfaces, such as paper, fabric, plastic, or metal. And we are considering it here for making labels at scale.
The printing step or process plays a crucial role in communication, information dissemination, and product packaging.
These labels are printed with the printing design and other necessary information required for the client. This process generally involves large industrial printing machines that produce labels by the thousands or millions per day.
At times they are printed straight onto the facestock, at other times they are printed onto another material which is added to the facestock. As you know, it’s all about your recipe and the requirements of the job to prepare something that’s best for you, just like we prepare our food.
Top 5 Types of Printing Methods For Labels
Now, there are various types (a lot) of methods that are used in the industry for various uses, and sharing them all here is impossible.
What we have done is, we have brought you the top 5 types of printing methods for labels used commonly in the industry for manufacturing labels. So let’s have a good look at each 7 of them:
- Flexographic Printing: Most commonly used for large print runs, especially in the packaging and labeling industry. Offers cost-effectiveness and high-speed printing.
- Digital Printing: Widely adopted for its versatility, quick turnaround, and suitability for short to medium print runs. Ideal for on-demand printing and variable data.
- Offset Printing: Still a prevalent choice for high-quality, large-volume printing, especially in commercial and publication printing.
- Screen Printing: Versatile and used for various applications, including textiles, promotional products, and specialty labels.
- Inkjet Printing: Popular for household and office printing, offering affordability, ease of use, and suitability for various materials.
This is basically all about printing labels, considering the various types of unique requirements for the project and businesses. There are many more printing methods used for labels, we’ll be discussing each of them in our coming articles.
Step 3: Finishing
Every process after printing the label, is referred to as “finishing”. The finishing process of labels involves additional steps beyond the printing phase to enhance the labels’ appearance, durability, and functionality.
Different finishing techniques can be applied to achieve specific effects or to meet the requirements of the intended application. Here are some common finishing processes for labels and their roles:
- Waste-stripping: Removal of excess material around die-cut labels for a clean and precise finish.
- Perforation: Creating small, evenly spaced holes along label edges for easy tearing or separation.
- Embossing and Debossing: Adding raised or pressed patterns for a tactile and visually appealing texture.
- Foil stamping: Applying a thin layer of metallic or colored foil for a decorative and shiny effect.
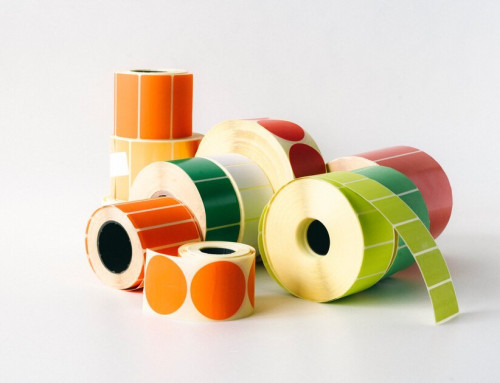
Step 4: Die-cutting and Rewinding
Die-cutting: This is a precise process used to cut labels into custom shapes, enhancing brand identity and visual appeal. It ensures uniformity and efficiency in mass production and allows for versatile customization of label shapes.
This precision-cutting method allows for the creation of custom-shaped labels that match unique brand designs and product requirements. Some of the die-cutting properties of labels are:
- Custom Die Creation: A custom-designed die, resembling the desired label shape, is created. This die can be made of sharp blades for traditional die cutting or can be a laser-cut pattern for more intricate designs.
- Precision Cutting: The die is pressed onto the label material with precision, cutting through it and shaping the labels. This process ensures uniformity in the shape and size of each label.
- Efficiency and Mass Production: Die cutting is an efficient process suitable for mass production. It allows for the quick and accurate creation of a large number of labels with consistent shapes.
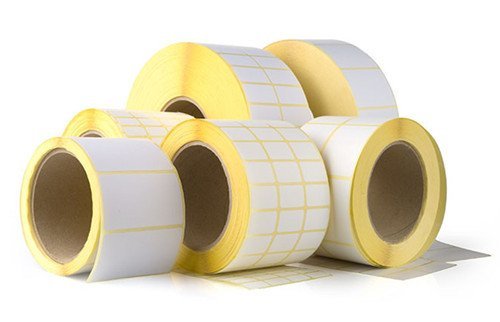
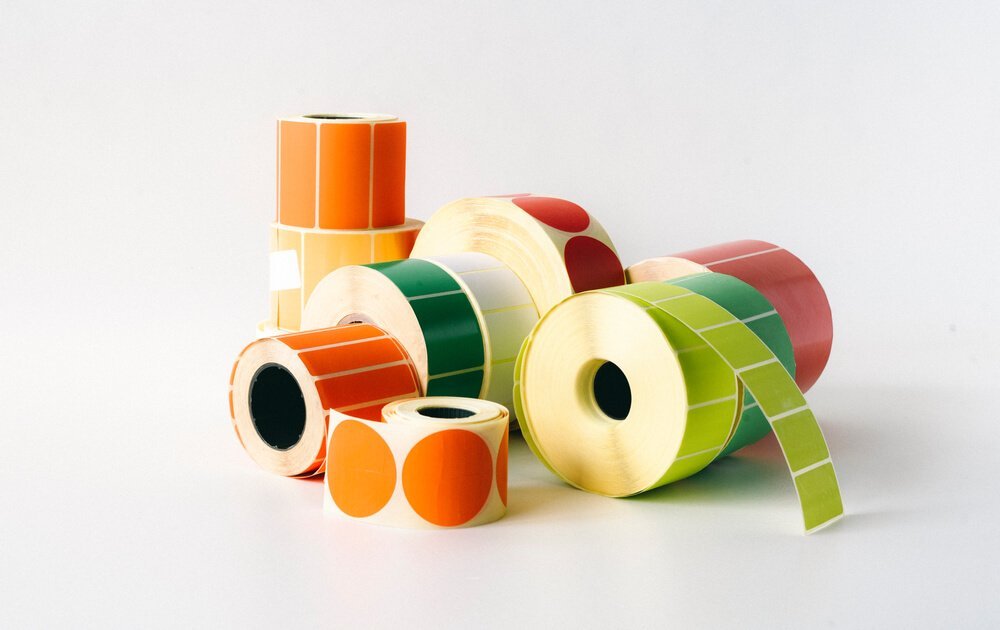
Rewinding labels: The rewinding process in label manufacturing is a critical step that occurs after the printing and finishing stages. It involves winding or curling the printed and finished labels onto rolls or spools in a precise and organized manner.
This last process is quite crucial for organizing, inspecting, and preparing printed labels on rolls, ensuring convenience, quality control, accurate quantities, and smooth integration into the next production stages.
There are 8 possible orientations for the labels related to how they go onto the final roll. Have a look at all these 8 types of orientations and why they are used:
- Face-to-Face (F2F): Labels are wound with the printed side of one label directly against the face of the next label.
- Butt-Cut: Labels are placed end-to-end with no gap or overlap, suitable for individual application.
- Overlap: Labels are wound with a portion of one label overlapping the next for added surface protection.
- Reversed Wind (Inside Wound): Labels are wound with the printed side facing the core of the roll.
- Butt-Cut Reversed Wind: Labels are placed end-to-end, and the roll is wound in a reversed manner.
- Inside Wound with Overlap: Labels are wound with the printed side facing the core, and there is an overlap between labels.
- Outside Wound (Face Out): Labels are wound with the printed side facing outward, a common orientation for labels with face adhesive.
- Outside Wound with Overlap: Similar to outside wound, but with a portion of one label overlapping the next.
Step 5: Quality Inspection, Packaging and Shipping (Post-Manufacturing)
Labels continuously go through quite strict quality inspection to ensure that the produced labels meet the required standards for appearance, accuracy, and functionality. The quality inspection process involves a series of checks and assessments to identify and rectify any defects or issues before the labels are sent to customers.
Coming to the last step of the label manufacturing process is one of the most critical steps to consider, based on most label requirements.
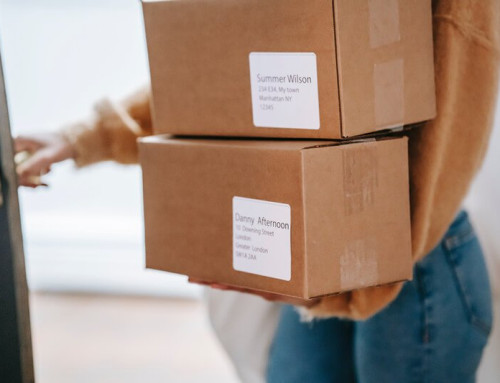
Now, coming on to packaging and shipping, this step involves carefully packing and shipping the finished labels to their destination. Well, it may seem simple, but it’s the last and most important step in business to deliver the customer with our product in the best manner, without any delay.
In packaging, labels are often organized in rolls, sheets, or fanfolds, and they are placed into packaging containers such as boxes and cartons. This helps to prevent damage, bending, or deformation of the labels in transit.
For the shipping part, labels are basically transported using various shipping methods, such as courier services or freight carriers, to reach distribution centers and ultimately customers.
This is how labels are inspected, packed, and transported to various places for distribution after they are manufactured. We shared it with you as it would be unfair if we shared everything about how we manufacture labels and did not tell you the one last step that comes after label manufacturing.
Conclusion
So, there you have it—labels go through quite the journey before ending up on your favorite products!
From material selection and fancy printing techniques to making sure they wind up on rolls just right, it’s like a behind-the-scenes show for those tiny sticky tags. The world of labels is surprisingly complicated, but hey, it’s what makes everything look great and organized on your shampoo bottle or snack bag.
Who knew labels had their own cool story to tell? Cheers to the unsung heroes of label manufacturing and packaging, including our team behind Panda Paper Roll, who have been delivering top-quality labels to all our clients around the globe.