
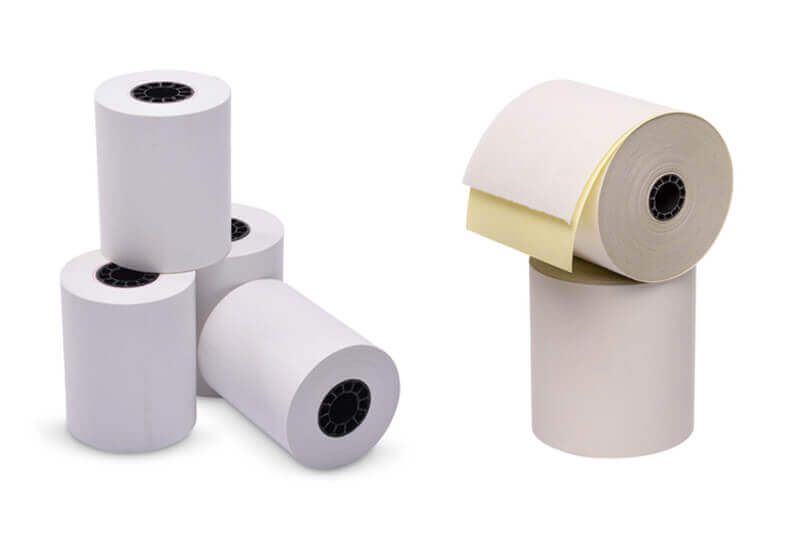
The point of sale system has become the most dominant form of payment in most retail outlets or restaurants, and thermal paper rolls play an essential role in the system as they can print the consumption details and payment proof in seconds. So it would be best if you ensured there are paper rolls always working in the POS printer. But when the paper rolls are getting over, you have to know how to install a new roll. Here in this article, we will share the step-by-step procedure for installing a new paper roll.
8 Steps to Install a New Paper Roll into a Receipt Printer
Installing a paper roll into a printer is a relatively straightforward process. It will take less than 1 minute to finish this.
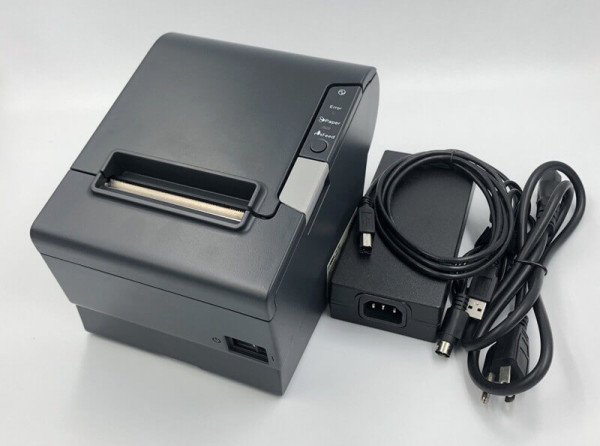
Epson TM-T88V thermal receipt printer Source: eBay
1. Turn off the printer and get the new paper roll ready:
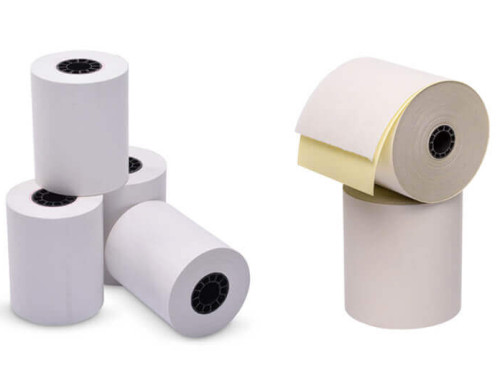
Firstly, you have to turn off the printer by switching the “ON/OFF” button. Make sure the paper roll size meets the POS printer’s specifications. You can check this by reading the manual or website or asking your POS system vendor. After getting the roll in your hand, remove the glue and roll about 1 inch of paper from the roll.
2. Open the Printer Cover:
Press the “Open” button to open the cover of the printer.
3. Remove the used old paper roll:
Remove the used, finished paper roll and the core.
4. Place the Paper Roll:
Hold the thermal paper roll by the edges and place it into the printer. Make sure the paper feeds from the bottom of the roll, coming up over the top. And the thermal side of the paper is close contact to the thermal printhead.
5. Thread the Paper:
Locate the paper path and thread the leading edge of the paper through it. There may be guides or arrows to help you direct the paper correctly. Ensure that the paper is straight and not wrinkled.
6. Close the Cover:
Once the paper is threaded through the printer, close the cover securely. Some printers may have sensors that detect when the cover is closed, so make sure it clicks or locks into place.
7. Turn On the Printer:
Power on the printer. It may automatically feed a small amount of paper to initialize. If not, you may need to press a button or follow on-screen prompts to feed a small amount of paper.
8. Test Print:
Perform a test print to ensure that the paper is loaded correctly and that the print quality is satisfactory.
Here are general instructions that should cover most thermal printers. The exact steps can vary depending on the printer’s type and model. Remember to consult the printer’s user manual for specific instructions if you have difficulty changing the paper roll.
Two Points You Should Pay Attention to:
- In step 4, do not load the paper in reverse. Thermal receipt paper can only be printed on one side – the thermal side, so you must ensure the thermal side has close contact with the thermal printhead.
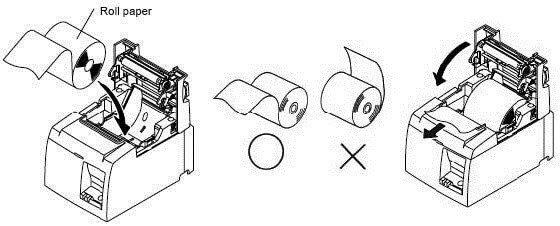
Make sure the paper thermal side is closed to the printer’s thermal head
- It is essential to keep a watch on the receipts which are coming out of the printer. If there are red lines on the receipt coming out from the printer, it indicates that the roll is about to get over.
Here is A Video Tutorial about How to Install A Paper Roll in a Printer:
Conclusion:
Installing a new paper roll in the machine will not take you more than 1 minute. Once you follow this procedure step-by-step, it will indeed become much easier for you to change the roll at any given time.

